Changing Icon For App Launcher: How To
By: MK Tomassi
Introduction
Step 1: Find Current Images
- In your Android Studio project, open the tab on the upper left side of the window that says “1: Project” if it is not already open.
- Then choose “Android” from the drop down menu.
- Open “app”, then “res”, then “mipmap”, then “ic_launcher.png (4)”. You should see something like this (the red numbers show the order in which you will open the tabs):

Step 2: Find Your Image
- Now find the icon you want to use. Preferably find a square image about 150x150 pixels.
Step 3: Fix Your Image
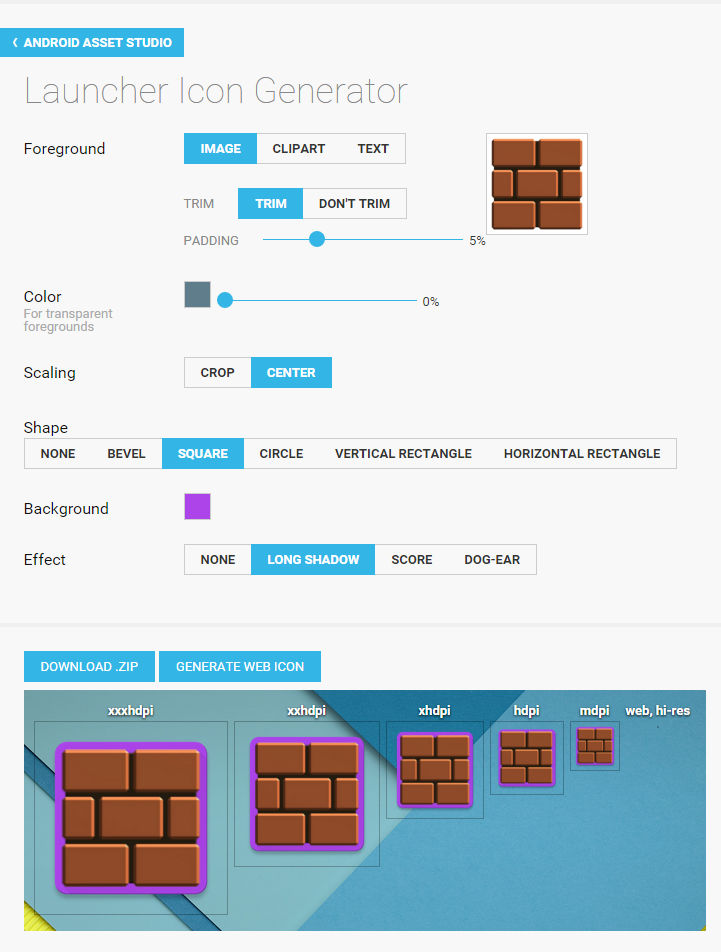
- Go to this website: https://romannurik.github.io/AndroidAssetStudio/icons-launcher.html
- Follow the directions on the website and download the icons. If this website does not work, you can either find varying sizes of the image you want on the web or use a similar site. (This site changes the size of an image to be the appropriate size of an android launcher icon.)
Step 4: Implement Your Image
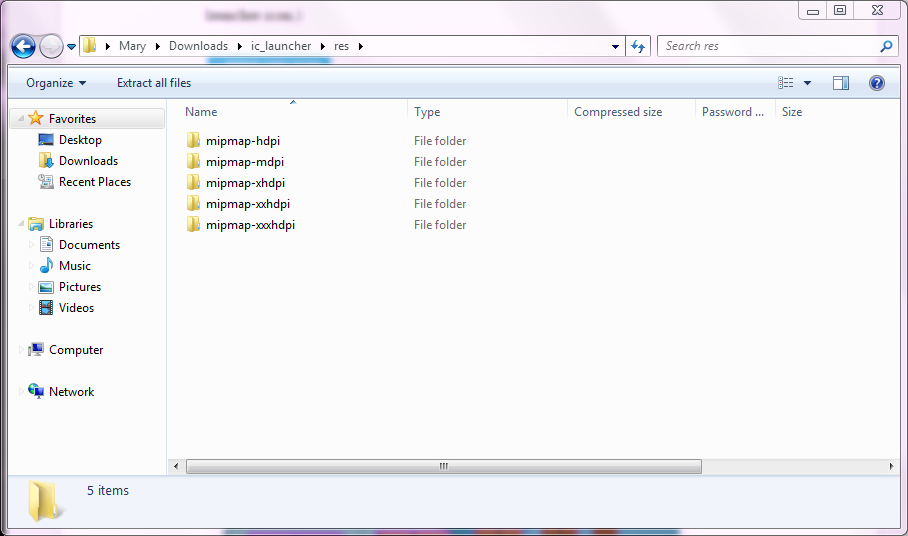
- Once you download the file, open it. If the file was a zip file, extract its contents by right-clicking on it and clicking “Extract”. Then open the “res” file.
- Now you have to replace each of the
images in the “ic_launcher.png (4)” file with the corresponding image that
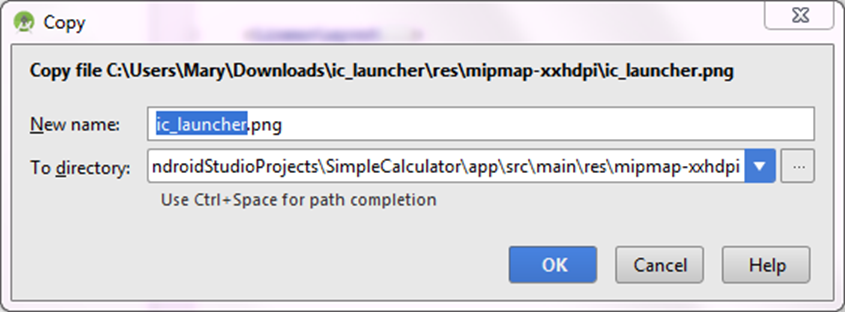
you want. To do so, open the “mipmap-hdpi” file and copy the image. Then
go to your Android Studio project and right-click on the “ic_launcher.png
(hdpi)” image and paste your image onto it. When the below window opens,
make sure the name is “ic_launcher.png” and click “OK”.
- You will then be prompted to either
overwrite the old file or skip. Click “Overwrite”.

- Now when you open any of the pictures they will be the correct sizes.